RULEBOOK
A Game of Bootlegging, Backstabbing, and Gang Warfare.
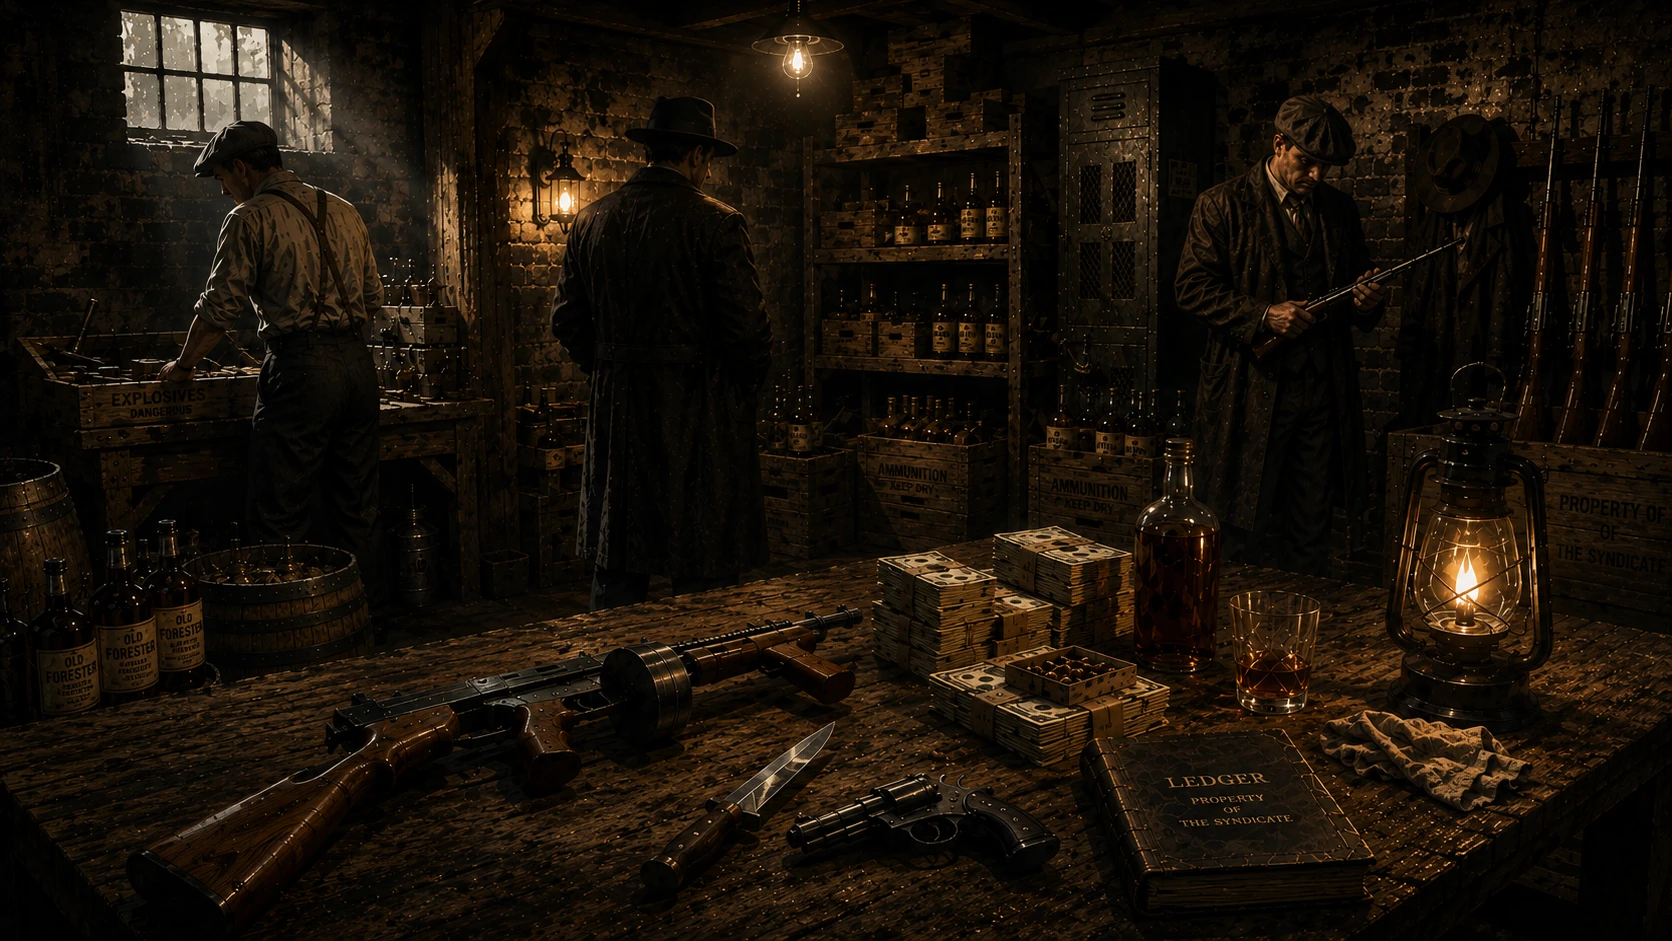
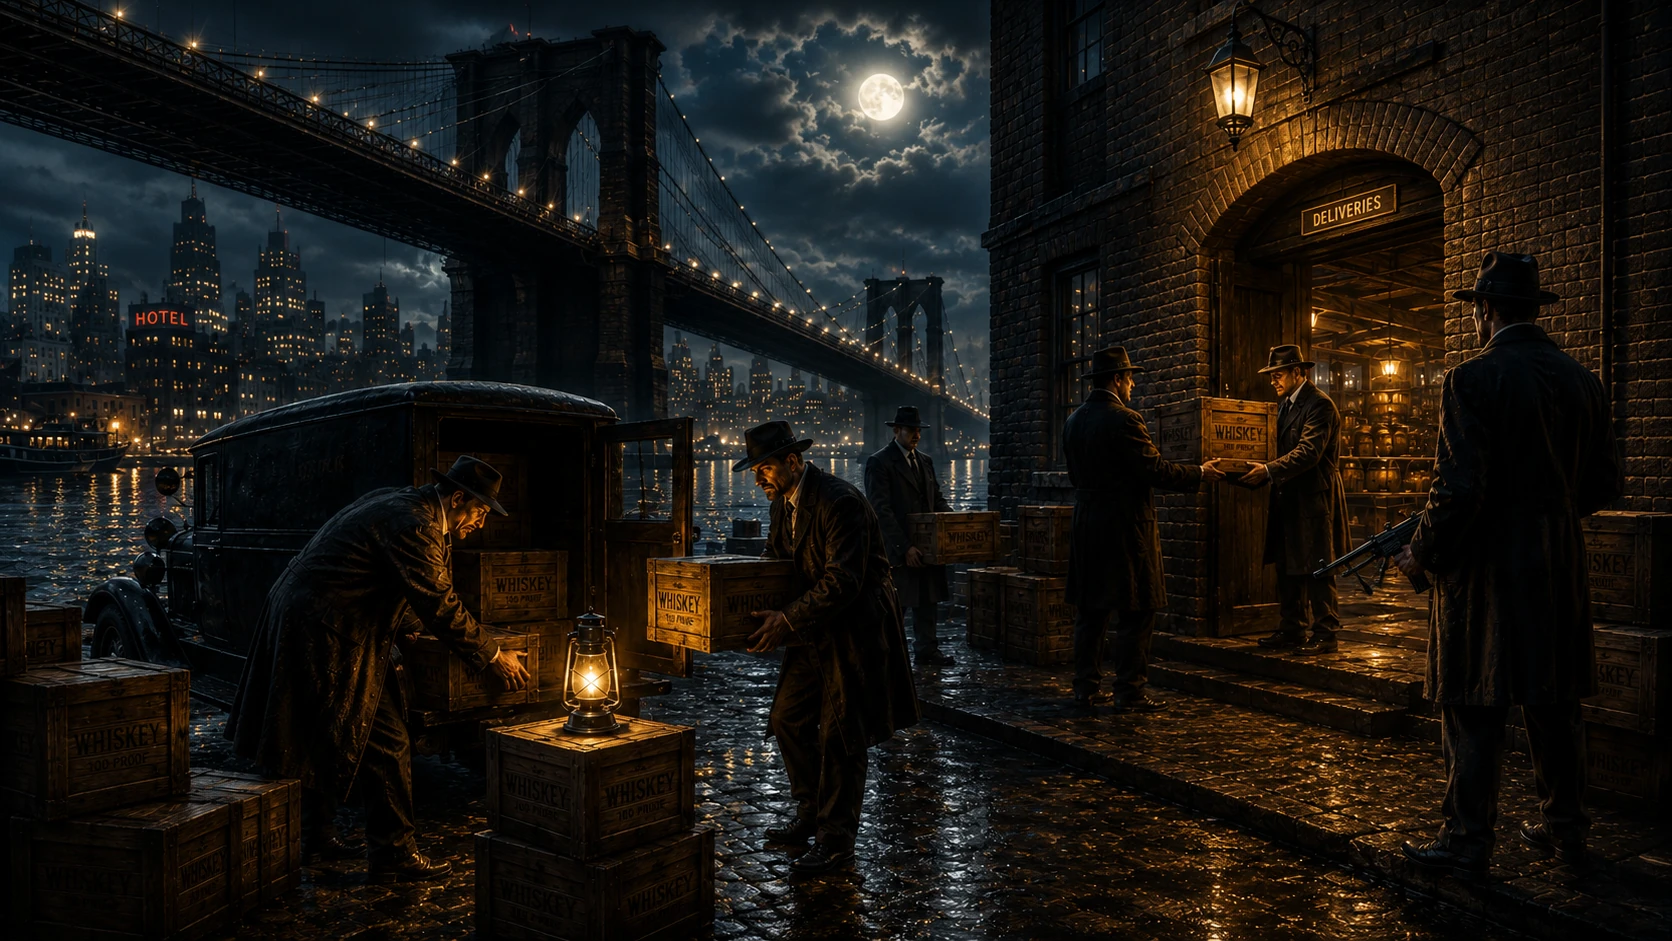
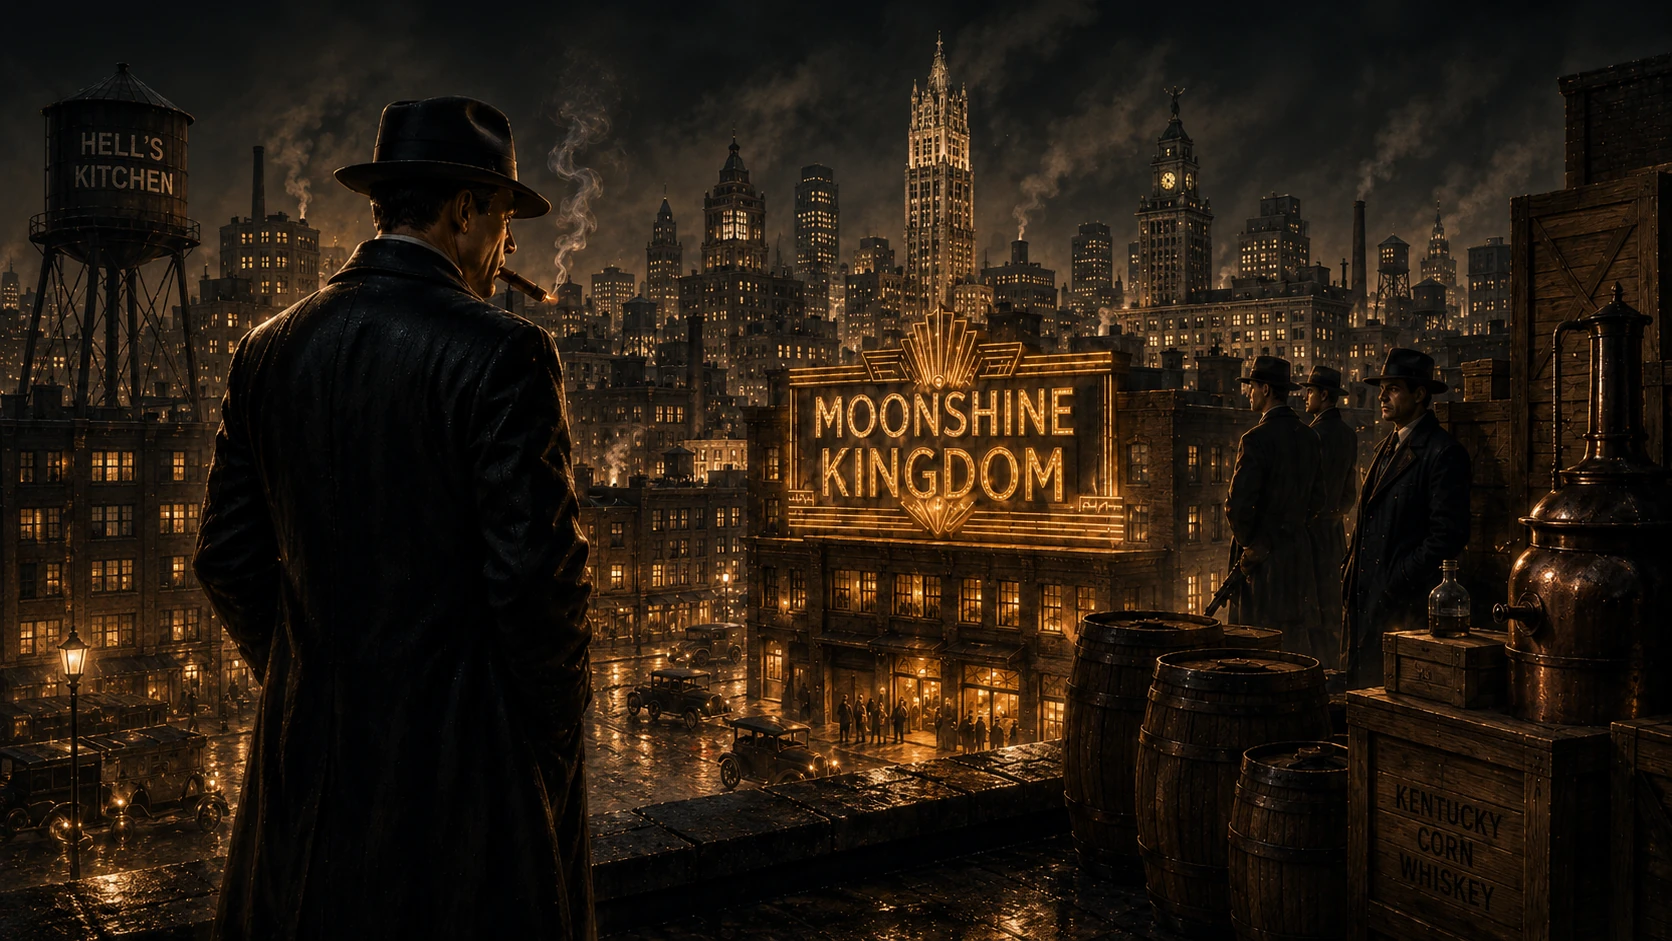
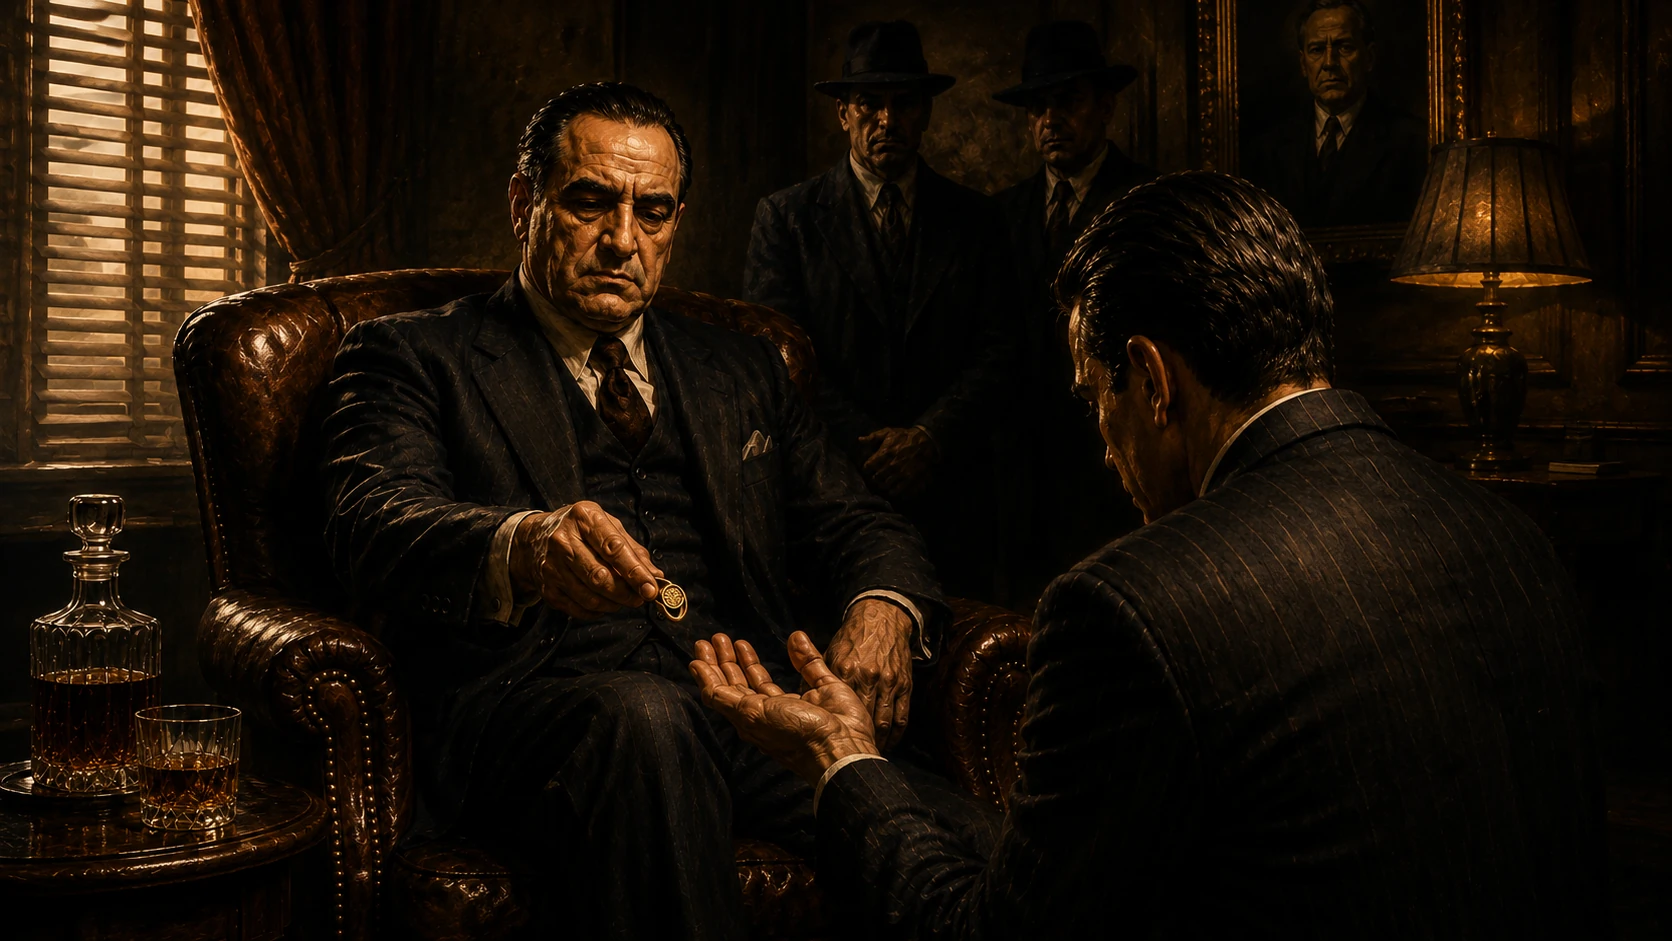
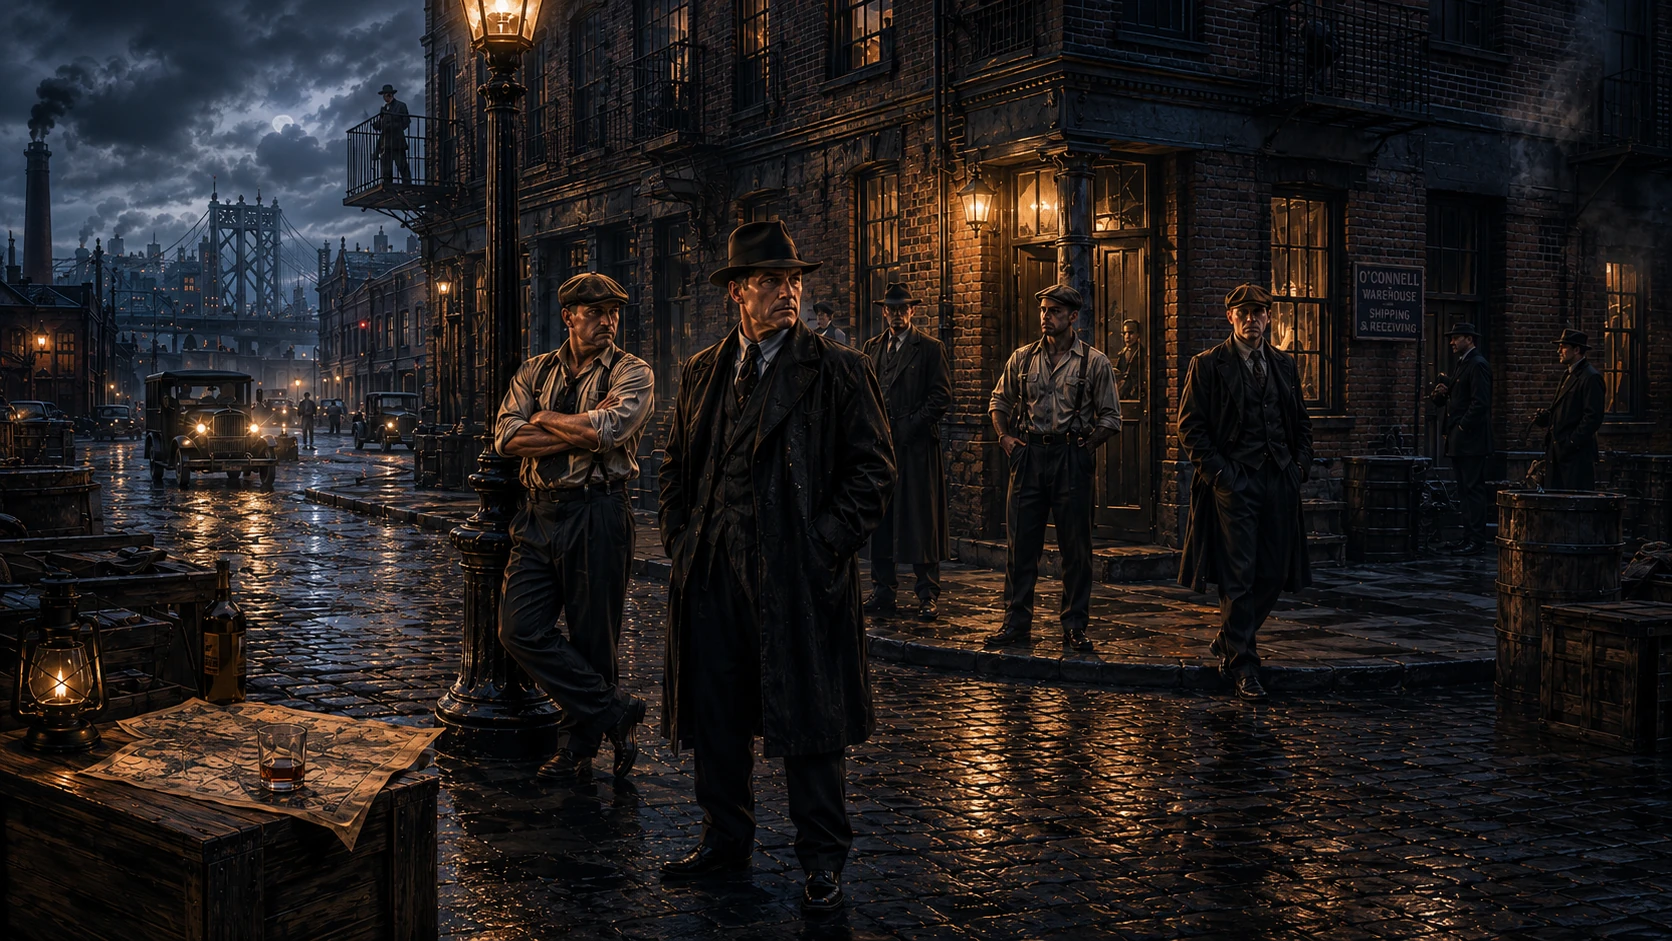
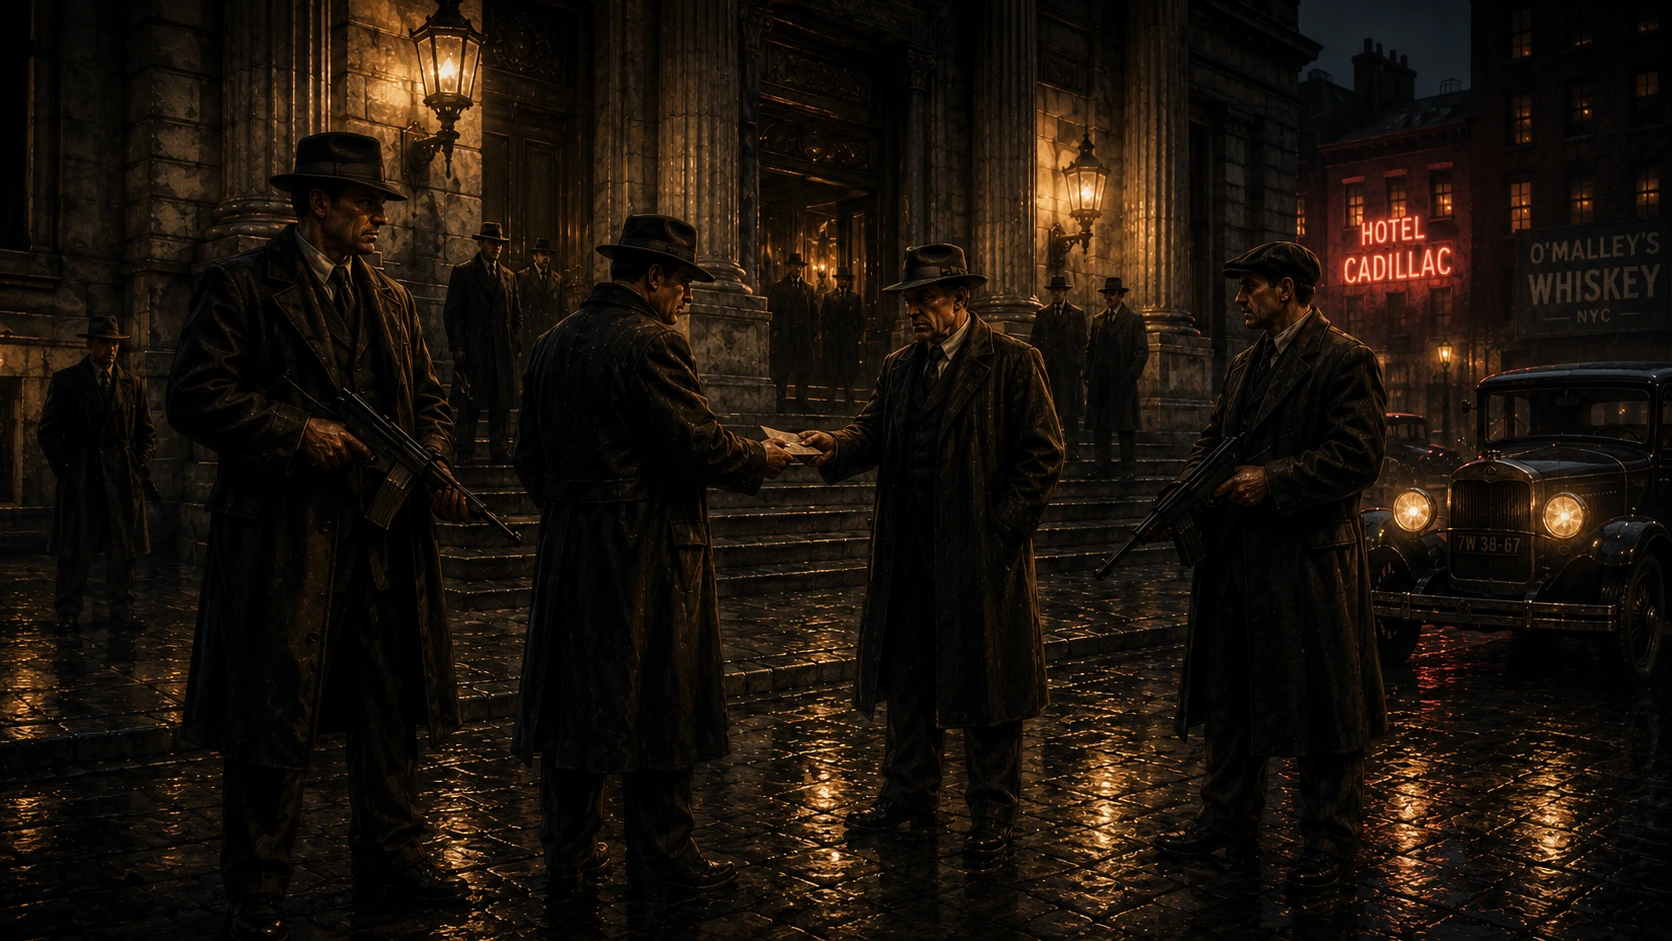
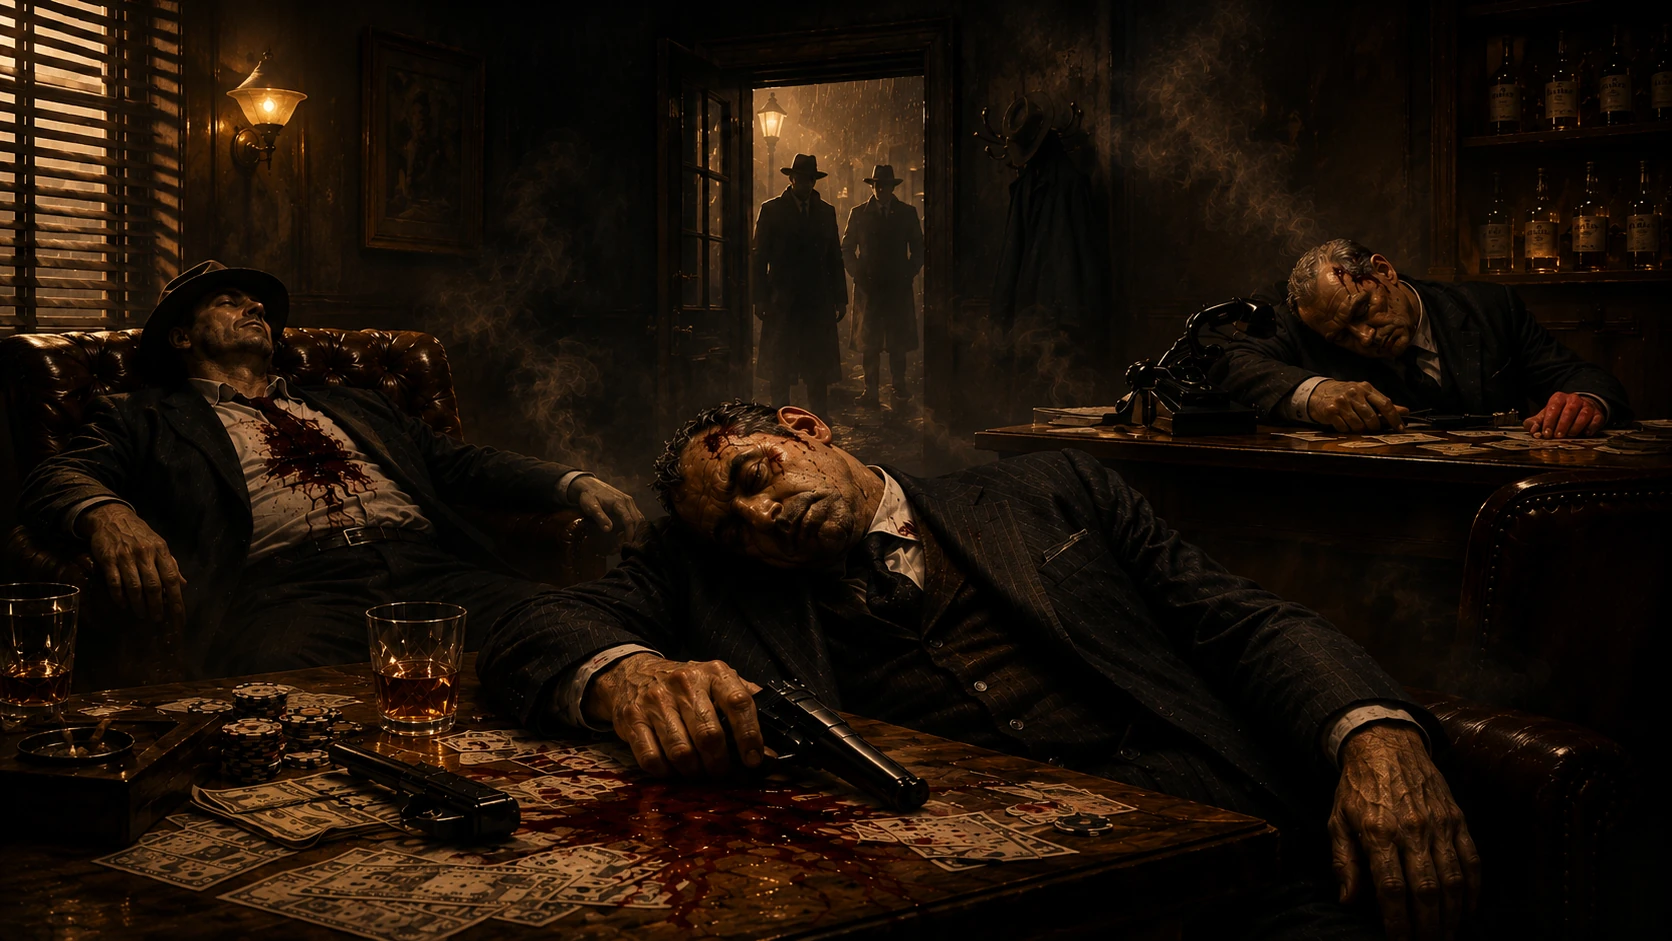
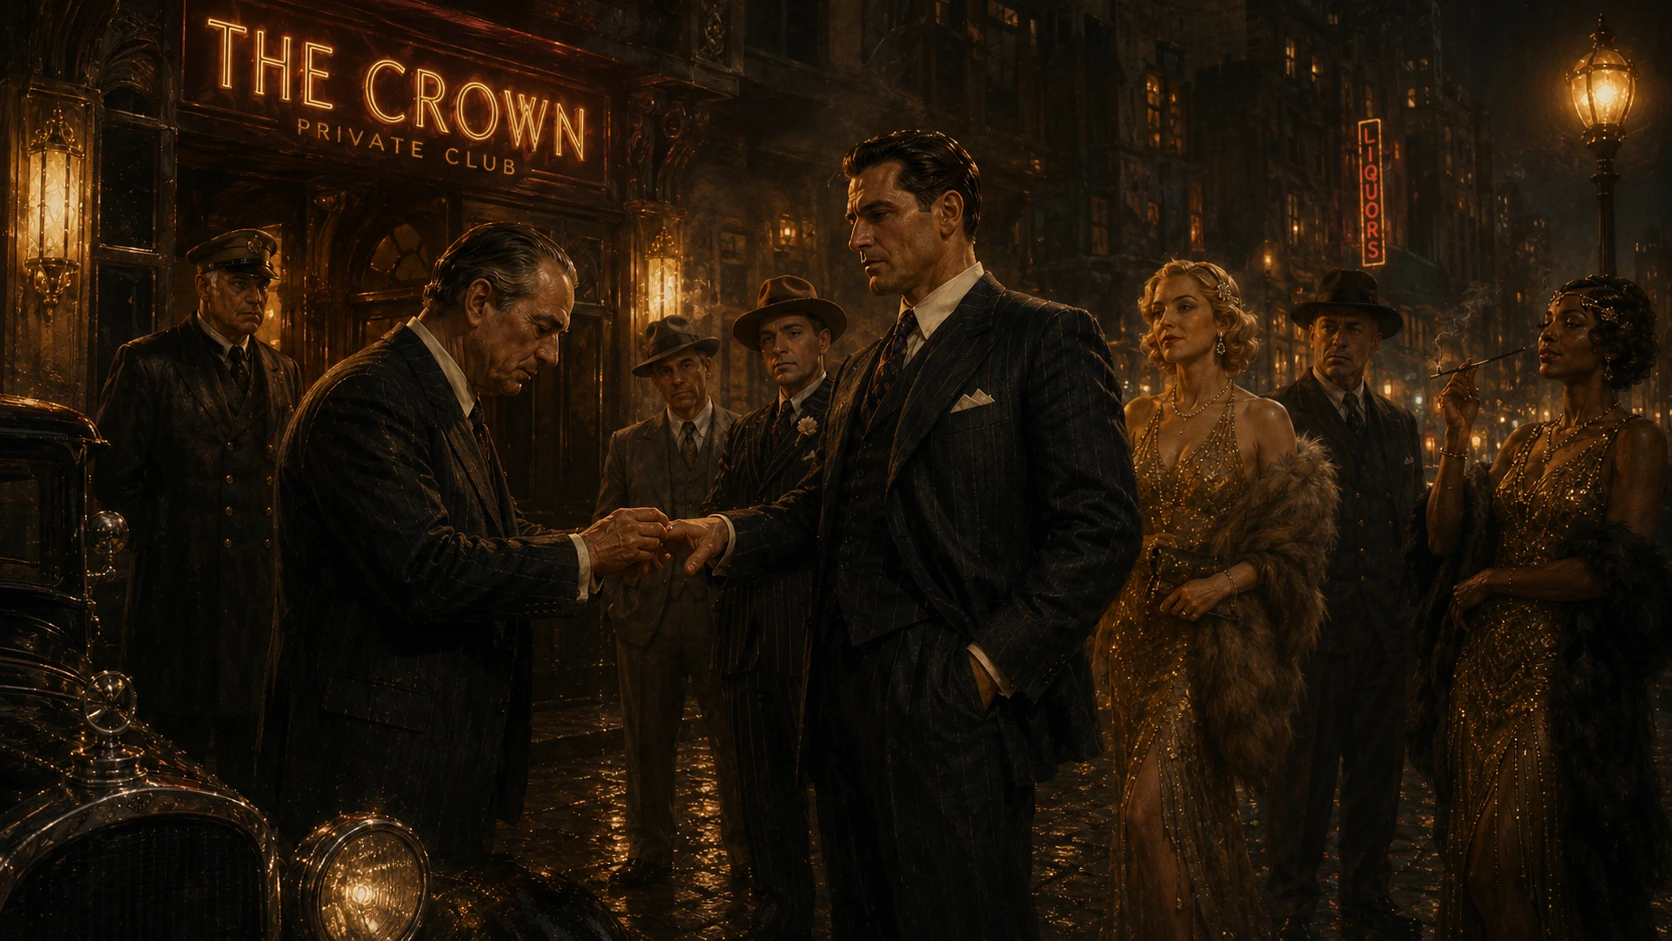
New York City, 1929. The liquor is illegal, the city is thirsty, and the cops are for sale. Every
basement is a brewery, every back room a bank, and every block worth killing for. Brew it, run it,
pour it, and turn the Police loose on anyone in your way. When the shooting stops, one boss will
be wearing the crown. Make it you, or vanish like cigar smoke in a hurricane.
A Day in the Life of a Kingpin
3–4 Players
Arnold Rothstein paid for the peace in this town until somebody shot him last November, and the
peace went into the ground with him. Back then you were hauling crates for another man. Now the crates are yours, and so are the fifteen hard cases who guard them. Somewhere under the pavement a boiler is ticking over with your name
on it, and every bar, pier and back room from the Battery to the Bronx is up for grabs.
In Moonshine Kingdom you are a rising Kingpin, clawing at a city that isn't big enough
for all of you.
Morning: Shadows
Dawn comes up grey over the Hudson. Fire your
Stills and cook cheap molasses into liquid gold, but every crew drafts from the same
handful of dice, and the one nobody takes goes looking for a weak pipe. When the steam clears, the word
on the street is out: Jobs, dirty work for any boss with the nerve to claim it. The morning's last word belongs to the Harbormaster, the
boss with the most piers: he names tomorrow's Mash, and the town plans around it.
Day: The Hustle
The sun is up, and so is the heat. Around the table, one Play at a time, you run barrels, grab
corners, grease aldermen and lean on anyone in your way. Every Play costs
Influence, and a boss's clout runs dry faster than his liquor. Know when to quit: step
off the street first and you strike first tomorrow. And keep it quiet. Gunfire carries, and
the Police are always listening.
Sunset: The Books Open
Twilight settles over the rooftops like a bruise. The last boss Lays Low, the books are opened, and
tomorrow's pecking order is set. Did you build an empire today, or just a body count?
The Only Crown Worth Having
Since November the crown of this town has lain in the gutter, and the first boss to take it wins.
The families at the Commission, the table where they carve up the city, will accept
one of you, on their terms.
They want a name: 10 Respect, earned one
Job at a time, each so brazen the papers set it in ink an inch tall. They want the city:
every judge, alderman and precinct captain has a price, and each one you buy is a marker of
Influence. Own all ten and you have the Nod. And they want a man nobody
owns, so keep Shylock off your books. Then walk your Boss into a High Society Venue and Take the
Crown. New York has changed hands before, and never once politely.
Game Components: Tools of the Trade
Your whole damn operation in miniature. Every piece earns, bleeds, or burns.
The City Map (Game Board): New York, 1929, drawn in gilt and lacquer: 25 Districts across 5 Boroughs, with a boiler on every block. Among them sit 12 Speakeasies (Tumbler Glass), four of them High Society Venues (Crown). A shared Heat Track measures how badly the city wants you gone, and the Tomorrow panel holds the Mash die and tomorrow's Turn Tokens.
The Ledger (x4): Your back-room desk. A slotted player board where the day's Influence sits, gets spent, and comes back. Every move you make starts here.
Mob Pieces (x4 Sets): One color to a mob: take the set matching the Playbook you're dealt. Each holds 1 Boss and 15 Runners (the brains and the muscle), 1 Safehouse, 10 Influence Markers, and 1 Mob Playbook of dirty tricks only your family can pull.
The Cards: The paper trail of your empire.
- Job Cards (32): Dirty work with your name on it. Pull one off and the city remembers.
- The Nod (4): Every judge, alderman and precinct captain in town, vouching for you. Claim it the instant you reach 10 Influence; it unlocks Take the Crown.
- Shylock's Marks (7): Debt, in writing. A lifeline with teeth.
- Welsher Cards (8): A broken word, kept on file. Nobody deals for one; you earn it the hard way.
- The Rat Card (1): The ultimate sin in cardboard form.
Turn Tokens (8): Two sets numbered 1–4. One set runs today; the other decides tomorrow.
The Town Planner (1): City Hall's own paperwork: the District roster you carve the map up from at setup. Its reverse holds a quick reference for the Day's phases.
Liquor Barrels (x30 Moonshine, x20 Havana Rum): The lifeblood of your operation. Barrels cycle back to the Supply when sold or Traded away, and the Supply is the ceiling: when a liquor runs out, it's out. Cheap swill and the good stuff; nothing in between.
The Dice (11): 5 White, 5 Red, and 1 grey Mash die. White and Red settle grudges and fire the boilers; the lone Mash die does one job only, and the whole table watches it.
The Bankroll (Cash): Dirty, untraceable bills in denominations of $100, $500, and $1,000. The kind that never sees a bank.
Police Squads (4 Blue Pieces): The blue wall that wants to see you swing. Four patrols prowling the mainland, drawn to noise.
Federal Crackdown Tracker (1) (4-Player Team Variant only): A 10-space pressure clock. Leave it in the box for a standard game.
Key Concepts: The Underworld at a Glance
Your Mob: The Brains, the Brawn, and the Bastards
From the Sicilian Syndicate to the Hell's Kitchen Irish, every family kills
in its own accent. You command:
A Boss
The head of the snake. In a firefight he makes every shot deadlier; when the Still on his block fires, a second Still runs with it (Split the Batch). Let him catch a bullet and the family is headless: no Bribes, no second Still and no crown until a successor Rises.
Runners
Knuckle-draggers and hard cases who hold turf, ride shotgun on the hooch, and catch bullets. You get 15 and no more, never enough to cover the city. So expand anyway: leave the borders thin and let the threat of violence stand guard.
Safehouse
Your one and only headquarters. It holds turf even when empty, gives its defenders the edge in a shootout, and is the only block in the city where you Recruit. Relocate it by Securing a new block, or move into a rival's HQ the moment you overrun it.
The Muscle Ratio: Street Math
One rule turns headcount into results everywhere it matters. Count the Mobsters (Boss and Runners) in a District, then halve it, round up, and stop at 5: that number brews your barrels, drops your dead in a Blowback, and fills your dice in a firefight. No Mobsters, no result: a Safehouse holds the turf but works no boiler and fires no gun.
Nobody is ever gone for good. However a Mobster leaves the board, he returns to your supply and can be Recruited again; your Boss the same, waiting on a Rise. There's always another kid off the boat who'll stand on a corner for a dollar.
Mobsters
Brew
Dead
Combat Dice
1–2
1
1
1
3–4
2
2
2
5–6
3
3
3
7–8
4
4
4
9+
5
5
5
The Map: Know Your Turf
Your empire is a broken city: 25 Districts across 5 Boroughs, each a flavor of poison and profit. Certain key Districts offer unique opportunities:
Speakeasies
Where the city drinks, and where liquor turns to cash. The 12 Speakeasies are where you Unload: Control one, haul your barrels in, and sell them across the bar. The more of them you hold, the shorter the road from Still to sale.
High Society Venues
Four Speakeasies, one to each mainland Borough and each above a #7 Still, where the judges and aldermen do their drinking and the Commission finds its new man. They buy Havana Rum and nothing else, and every barrel of it poured there pays a Kickback in Influence on top of its $500 (see Unload). They begin padlocked beneath the Police Squads, and open the moment a Raid moves the law along.
Wards
Gritty blocks where mob roots run deep: each crew is born in its own, and every one is a crossroads worth holding. A Boss Rises in a Ward, and the Irish Peddle rotgut here.
Docks
Where the rum comes ashore: at a Dock you Control, Trade Moonshine up to Havana Rum. Docks also connect to one another across the water, the fastest road on the map. The boss Controlling the most Docks is the Harbormaster, and names tomorrow's Mash.
Stills
Every District has a boiler printed on the board, numbered 2–12. The moment you Control the District its Still is active: it pours when you brew its number, and bursts when the morning's Blowback matches it (see Shadows).
The Currencies of the Underworld
To rule the city you'll need more than bullets. Two resources fuel the hustle, and a third buys power:
- Cash: Buys men, buildings, and judges: spend it to Recruit, to Secure a Safehouse, and to Bribe. Earn it by Unloading liquor, Extorting your turf, and cashing in unspent Influence at $100 a marker. Keep it on the table in front of you, in plain sight: anyone may ask for a count.
- Liquor Barrels: Your lifeblood. Every drop is born as Moonshine at your Stills, and any ordinary Speakeasy you Control buys it at $300 a barrel. Traded up to Havana Rum at a Dock it fetches $500, and the four High Society Venues buy Rum alone.
Influence: Currency of Power
Influence is your political clout. You start with 6 markers and Bribe for more, one at a time, to a hard ceiling of 10 (see The Nod). Day to day, those markers cycle:
- The Reserves: Where uncommitted markers stack, and where you stake Jobs from.
- Fund (Shadows): Fill your Ledger's 5 slots from the Reserves. Only Ledger markers can be spent; the rest wait in Reserves to stake Jobs and refill you tomorrow.
- Execute (The Hustle): Spend Ledger markers on the Play your turn buys, and on every shot a firefight asks of you, whoever started it.
- Resolve: A quiet spend returns its marker to your Reserves. A noisy one locks it onto the communal Heat Track instead, until the next Police Raid sets it free.
Kingpin's Tip: Capacity, Not Actions
However deep your Reserves, the Ledger funds 5 markers a Day, and only a High Society Kickback refills it before dusk. So extra Influence doesn't buy extra Plays. It buys capacity: markers to stake Jobs, and enough left to fill tomorrow's five after the Heat Track keeps a few. You can't out-action your rivals. You have to out-think them.
The Ledger
Your Back-Room Desk
Shadows: Reserves → Ledger
•
The Hustle: Ledger → Reserves / Heat
Territory: Lines in the Concrete
An empire isn't built on bullets alone. It's built on logistics: moving product, and drawing borders your rivals won't cross.
1. Control: Boots on the Ground
You can't tax what you don't hold. You Control a District if you have a Mobster (Boss or Runner) or a Safehouse standing on it.
- Walk In, Walk Out: Control is settled at the end of each Play. Walk onto an empty block and it is yours; walk off it on a later Play and it isn't. You hold a corner by standing on it, not by having once stood on it.
- Barrels Hold Nothing: When a Play ends, every barrel belongs to whoever Controls the block it sits in, and a barrel never Controls a block itself. Lose your last Mobster and Safehouse from a block and the Liquor you left there is nobody's: whoever takes the block next takes it. A barrel of gin can't hold a street corner.
- The Golden Rule of Turf: Come Shadows and sunset, only one mob stands in a District. You may enter a rival's turf, but never end a Play beside them: by then you must have taken the District or left it.
- Contested Ground: During a firefight, the original Occupier retains Control (and all defensive bonuses) until their last piece falls or retreats.
2. Safe vs. Hostile Turf
The difference between a payday and a bloodbath:
- Safe Districts: Any District you Control, plus any Defenseless block: no rival Mobsters, no Police Squad, and no rival Safehouse. Loose Liquor alone never makes a block unsafe.
- Hostile Districts: Any District guarded by rival Mobsters. Step in and the Occupier answers first; unless they Fold, you are Pinned (see Combat). A rival Safehouse standing alone is neither: it's there for the taking (see Move).
- The Blue Wall: A District holding a Police Squad is Impassable: no Moving in, no shooting your way in, no buying it off. Any Speakeasy or Still under the Squad is padlocked: shut to everyone, and a padlocked Still brews nothing and ignores Blowbacks. The four Squads run themselves, one locked to each mainland Borough, and move only during a Raid (see Police Raids).
3. Connection: Reading the Grid
Two Districts are Connected if they are joined by land or by water, and a Move follows either:
- Land Connected: They share a border, or a Bridge links them. Where a rule or a Job card says Land Connected, the water doesn't count. (e.g., Williamsburg is Land Connected to Red Hook, Brownsville, Corona, and Astoria by border, and to Five Points by Bridge.)
- Water Connected: Both are Dock Districts. Every Dock reaches every other Dock across the water, however far apart on the map. (e.g., You can Move directly from West Side to Throggs Neck in one Play.)
Your Goal: The Crown of New York
The first boss to Take the Crown wins the game. The families who sit at the Commission decide what it takes, and they won't deal with a nobody, or a man who can't deliver the city: the war is a race for Respect and the Nod.
Jobs: Forge Your Legend
In this city a reputation outlives any bankroll, and no bullet can take it back. Respect is that reputation made currency, and Jobs pay it for what you do. Beside the board sits the Jobs Market: the word on the street, dealt face-up for every boss to read. A card stays on offer until somebody is man enough to take it.
Every Job names a deed and prints two numbers: its Stake, the Influence you lock up to claim it, and its Respect, what it pays when you pull it off. Respect runs from 1, an evening's work, to 5: the kind they print on the front page and talk about for twenty years. Pay the stake, do the deed, take the respect.
Claiming a Job
Once each morning, at The Offers, you may take a new Job or walk away from an old one, never both (see Grease the Wheels). To claim one, move markers from your Reserves onto the card equal to its Stake; they stay locked there until the Job resolves. There's no deadline, but the stake is rent, paid in Plays. The Offers come before you fund your Ledger, so a staked marker never reaches it: once your Reserves can't fill all five slots, every marker on a Job is a Play you don't make, every Day you hold the card. Claim a 5 on Monday, pull it off on Thursday, and you've handed your rivals four short days on the street.
Pulling It Off
No declarations, no paperwork: do the deed with the whole table watching and the Job completes on the spot. Return its stake to your Reserves and add the card to your Respect pile; completed Jobs never return to the deck. When a card says Seize, it means take Control of a District from a rival, by gunfire or by strolling in where they left the door open. Control must actually change hands: slipping into a rival District while they still hold it, as a Viper does on a Stealth, seizes nothing. Standing in a man's hallway isn't the same as owning his house.
The Play Is the Unit
A Job is a deed, not a board position, and only your own Play does it, with the fight it starts and any Raid it sets off. Your Ambush or return fire on a rival's Play completes nothing. If your Play did the deed, the Job is done, and it stays done even if the deed didn't survive the Play. Kill a rival Boss, then lose the firefight: nothing un-kills him. The job pays.
The Nod: Buy the City
A name is earned; the city is bought. Every Bribe puts another judge, alderman or precinct captain in your pocket: one more marker of Influence. The instant all 10 answer to you, claim the Nod from the Supply and keep it where the whole table can see it. It unlocks the one Play that wins the game: Take the Crown (see Winning the Game). The families bring the guns. The new man brings the city.
Setup: Carving Out Your Corner
-
Claim Your Crew:
Shuffle the Playbooks and deal one to each player. Take your Ledger and your muscle: 1 Boss, 15 Runners, and 1 Safehouse.
-
Turn Order (Who Strikes First):
Take one set of four Turn Tokens as today's set and deal them out at random: #1 strikes first. Stack the other set on the board's Turn Order space, #1 on top: that is tomorrow's stack, taken from the top as players Lay Low. Three players? Box both #4s. In this city, the fast eat the dead.
-
Establish Turf:
Nobody starts on Staten Island. Each player takes a mainland Borough (Manhattan, The Bronx, Brooklyn or Queens) at random as their home turf. The Town Planner's Setup column names every starting District, so garrison the three it marks in your Borough: 1 Safehouse, 1 Boss and 2 Runners in your Ward, then 3 Runners each in the Speakeasy and the Dock it names. Your remaining 7 Runners wait in your supply.
-
Raise the Blue Wall:
The same column marks the law. In each mainland Borough, place 1 Police Squad on its High Society Venue, the Speakeasy above the #7 Still (the Town Planner marks all four). Those rooms start padlocked and impassable until the Raid that moves the Squad off. The best bar in every Borough, and a cop on the door.
-
Stack the Job Deck:
Set the eight 5-Respect Jobs aside. Shuffle the rest and deal Player Count + 1 face-up beside the board: the Jobs Market. Now shuffle the 5s back in and set the deck face-down alongside the row. Nobody hands a stranger the big work.
Everything else, the Shylock's Marks, Welsher cards and the Rat Card, waits in the Supply until it's earned. A debt, a broken word, a snitch's brand: nobody starts the night wearing them.
-
Get Your Cut:
A rising kingpin's bankroll: take $1,500 cash, and put 6 of your 10 Influence markers in your Reserves. The other 4 wait in your supply until you Bribe for them. Day 1's Shadows funds your Ledger like any other morning: stake first, fund second.
-
Ferment the First Mash:
Roll the Mash die and leave it on the board: Day 1's Public Mash, fermenting since before you sat down. From tomorrow the Harbormaster sets it (see Shadows).
Gameplay: Run the Streets
A Day runs in two phases, Shadows and The Hustle, and closes at Sunset.
Phase 1: Shadows
The city wakes to the hiss of steam.
1. The Brew
The Mash die already sits on the board, set by yesterday's Harbormaster (on Day 1, by the setup roll). The boss holding Turn Token #1 rolls the communal pool: one Red die more than there are players (4 players: 5 Red).
- Read the Public Mash: The grey Mash die is the cheap molasses swill off the docks that every crew is cooking today. It stays put all morning and feeds every number below.
- Draft and Brew, one boss at a time: In Turn Order, each boss takes exactly 1 Red die and brews at once, before the next boss drafts. Your Brew Number is Mash + your Red. Every active Still you Control with that number pours Moonshine into its District: one barrel per point of that District's Muscle Ratio. Rival Stills with the same number stay cold; your brew is yours alone. Take your barrels from the Supply as you brew, because it is finite and shared: if it runs dry, the later seats take whatever is left and the rest is lost. When several of your Stills fire at once, you choose which to stock first. The bank pays the early riser. The man who sleeps in gets the dregs.
- Split the Batch: If the Still in your Boss's District fires, you may also fire one other active Still you Control in a Land Connected District, whatever its number, pouring by its own District's Muscle Ratio. Half the mash goes over the wall, and a cold boiler earns its keep.
2. The Blowback
Cheap pipes, high pressure, and the boilers blow. One Red is always left undrafted: add it to the Mash for the Blowback Number. Unlike the brew, the Blowback hits everyone: every active Still with that number bursts, whoever Controls it. In each bursting District, remove as many Mobsters as its Muscle Ratio, Runners first; the Boss dies only if no Runner is left there to take the hit. The survivors patch the boiler and hold on: they keep their barrels and their turf, and the Still runs again tomorrow.
Kingpin's Tip: The Mash die has been public since yesterday, so every Red in the pool is a Blowback waiting to happen. Sometimes the smart draft isn't the die that fires your best Still; it's the one you daren't leave behind to burn it down. The first seat brews richest. The last seat is left holding the match, and takes first pick of the morning's Jobs for its trouble.
3. Grease the Wheels
The Offers: In reverse Turn Order (the highest token picks first), each boss does one of three things:
- Take a Job: Claim one from the Market, stake Influence from your Reserves equal to its Stake, and deal a fresh card into the gap (deck dry? shuffle the discards into a new one).
- Walk Away: Drop a Job you hold, discard it, and take its staked markers back to your Reserves.
- Nothing at all: Stand pat. The Market keeps until morning.
You may hold as many Jobs at once as your Reserves can stake.
Fund the Ledger: Then everyone moves what's left in their Reserves into the Ledger, up to its 5 slots. Staked markers stay locked on their Jobs, and any beyond five wait in Reserves. Stake first, fund second.
4. The Harbormaster
Set tomorrow's Public Mash: The molasses comes ashore on somebody's piers. The boss who Controls the most Dock Districts is today's Harbormaster: he names any Mash face 1–6 and turns the Mash die to show it, where it stays until tomorrow's Brew. If the lead is tied, nobody holds the piers, so roll the die instead. Either way the whole table plays the Day knowing tomorrow's Mash: seize the Stills it will fire, and Lay Low early so you draft first when it does.
Example: The Morning Brew
Setup: Day 6, and a Raid has long since moved the Squads off the starting Speakeasies. Yesterday's Harbormaster set the Mash at 3. Turn Order is Sicilians #1, Irish #2, Knights #3, Vipers #4, so the Sicilians roll 5 Red for the pool: 1, 4, 4, 5, 6. Four bosses, five dice: one Red will be left holding the match.
1. Read the Public Mash
The Mash is 3. Every number this morning starts there. Each boss already knows which Red he needs; the only question is whether he gets it.
2. Draft and Brew, one boss at a time
Each boss drafts, brews and takes his barrels before the next man touches a die. Shown as a table for space; at the table it happens one seat at a time.
| Boss |
Their Still |
Takes |
Brew Number |
Brews |
Sicilians
(#1) |
Sugar Hill
The Cotton Club, Still 7 |
4 |
3 + 4 = 7. Fires. |
Boss + 3 Runners = 2 Barrels, then Split the Batch carries the run to West Side (Still 11, 3 Runners) for 2 more: 4 Barrels. |
Irish
(#2) |
The Bowery
Dock, Still 9 |
6 |
3 + 6 = 9. Fires. |
4 Runners = 2 Barrels. |
Knights
(#3) |
Fordham
The Penny Whistle, Still 8 |
5 |
3 + 5 = 8. Fires. |
5 Runners = 3 Barrels. |
Vipers
(#4) |
Canarsie
Dock, Still 4 |
1 |
3 + 1 = 4. Fires. |
3 Runners = 2 Barrels, if the Supply still holds them. |
The last seat's choice: The Vipers were left the 1 and the second 4. The 4 would have brewed them nothing (they own no Still 7) and left the 1 behind, blowing their own Canarsie. So they took the 1, fired their own Still, and walked away leaving a 4 on the table. They knew exactly what it was worth to the man in the first seat.
The Sicilians brewed the richest run of the morning, 4 Barrels, and took them out of the Supply before the Irish had touched a die. Nothing could reach an 11 today: a Mash of 3 tops out at 9. Had the Supply been thin, the Vipers in the last seat would have been the ones counting dregs.
3. The Blowback
One Red went undrafted: the 4. Add it to the Mash: 3 + 4 = 7. Every active, Controlled Still numbered 7 bursts, whoever owns the block, and the Cotton Club is lit.
Sugar Hill holds 4 Mobsters, so The Muscle Ratio tallies 2 casualties, both Runners: the Boss is safe while a Runner stands beside him. The Sicilians keep their 4 Barrels, keep the turf, and the Cotton Club runs again tomorrow.
The Moral: The Sicilians brewed richest and lost two Runners to the very same number. 7 paid them and bled them, and they could see the second 4 sitting in the pool the whole time. The first seat brews richest. The last seat holds the match.
Phase 2: The Hustle
Players act in Turn Order, one Play each, around and around the table until everyone has Laid Low for the Day.
On Your Turn: make one Play
- Make a Play (no passing). Spend Influence on one Play from the tables below or your Playbook, or make the one Play that costs nothing: Lay Low.
- Resolve any combat the Play triggers, fully, before the Play ends.
- Pay the cost. Spent markers return from your Ledger to your Reserves. If the Play drew Heat, 1 marker locks onto the Heat Track instead.
Plays: Working the Angles
| Standard Plays (Cost: 1 Influence) |
| Move |
Send any number of Mobsters and/or Liquor barrels from one District to one Connected District. You cannot Move into a District held by a Police Squad.
Barrels travel alone: your distribution network runs them, so a Move can send barrels with no Mobster beside them. Barrels sent alone start no Standoff, and in a District you don't Control they are no longer yours (see Barrels Hold Nothing). Sell a rival his stock, or plant the evidence the Squads come looking for.
Into rival turf: The Occupier answers first, and unless they Fold, your Mobsters are Pinned (see Combat). Barrels ride in with them.
Undefended HQ: Move onto a rival Safehouse with no Mobsters guarding it and it's yours to take over or raze: no Standoff, no shots fired. |
| Recruit |
Hire any number of Runners from your supply into the District holding your Safehouse, paying the bank $300 per Runner. No Safehouse on the board, no Recruiting. |
| Secure |
Place your Safehouse in any Safe District for $500, relocating it if it was already on the board. Placing a Safehouse grants immediate Control, but an unguarded Safehouse is a rival's for the taking (see Move).
|
| Trade |
At a Dock District you Control, swap any number of the Moonshine barrels sitting there for Havana Rum, one for one. It is the only way Rum enters the game. Rum sells for $500 at any Speakeasy you Control, so every swap is a $200 raise on a barrel you already own. (Dry Dock: the Rum pool is 20 barrels; when it runs out, the docks stay dry until sold Rum cycles back.)
|
| Beg |
When the walls close in, go see Shylock. One deal per visit:
The Loan: Take $1,500 and one of his Marks. Hold as many as you like, but Shylock has only 7 in his book; while all 7 are out, nobody borrows until one comes back.
Square Up: Pay $2,000 and hand one Mark back. Shylock lends in fifteens and collects in twenties.
While you hold any Mark, you cannot Take the Crown.
|
| Collect |
A quiet day's work while you wait out the street. Take $100 from the bank; nothing else moves. That is exactly what the marker would fetch if you Laid Low, so the cash is a wash: Collect buys time. Hold your seat, let your rivals move first, and take a later Turn Token: last to draft tomorrow, but first to the Offers.
|
| The Free Play (Cost: 0) |
| Lay Low |
End your Day. Flush, it's how you step off early; out of Influence, it's the only Play left. When you Lay Low:
- Clear each unspent marker from your Ledger to your Reserves, collecting $100 apiece (Reserves don't pay).
- Take the top token from tomorrow's stack: the lowest number left. Lay Low first, strike first tomorrow.
Broke is not Laid Low: with an empty Ledger you still take your turn until you make this Play. Once made, no more Plays until tomorrow, though you still answer anyone who walks onto your turf (see Combat).
|
Sunset
The moment the final player Lays Low, taking the last token and uncovering SUNSET beneath it, the books open: any promise still unmet earns its breaker a Welsher, and the Turn Tokens claimed today become tomorrow's Turn Order. The next Day's Shadows begins.
Power Plays
Power Plays cost double, but still count as a single Play in the turn cycle.
| Power Plays (Cost: 2 Influence) |
Unload  |
Sell the Barrels: At a Speakeasy you Control, sell any number of your barrels sitting in that District: the liquor has to be at the bar to be sold across it. Moonshine pays $300 per barrel and Havana Rum pays $500. A High Society Venue buys Havana Rum only: no swill crosses those bars.
The High Society Kickback: At a High Society Venue you Control, every barrel of Havana Rum Unloaded also moves 1 Influence marker from your Reserves into an empty Ledger slot (no marker in Reserves, or no empty slot? That Kickback is lost). The Unload's own markers leave the Ledger first, so their slots count as empty: pour five Rum on your last two markers and the Ledger empties, then refills to five. A refilled slot spends again, so the Kickback is the one thing in the game that stretches your Day past the five markers your Ledger held at dawn. Rich men tip in favors, and they drink imported.
The Greed Tax: Unloading 4+ barrels in one Play generates Heat, wherever you sell. Move more than three and the cops come sniffing.
|
| Bribe |
Every judge, alderman and precinct captain has a price, and you pay it in cash. Pay the bank and take 1 permanent Influence marker for your Reserves. Each man you buy charges more than the last: $2,000 for your 7th marker, $3,000 for your 8th, $4,000 for your 9th and $5,000 for your 10th. The 10th earns you the Nod (see The Nod). Your Boss makes the drop in person, so he must be on the board.
|
| Extort |
Shake down the locals. Once per Day, earn a flat $200 for each District you Control anywhere on the map. Brutal, profitable, and loud: the Heat comes however many Districts pay. |
| Rat |
There's no honor among thieves when the sirens wail. Drop a dime on your rivals: trigger an immediate Police Raid, and the Squads come for whoever made the freshest noise (see Police Raids).
The Mark of the Snitch: Making this Play, you take the Rat Card from the Supply (or snatch it from the rival who holds it). While you hold it you are −2 Respect, and you cannot Rat again. The Card leaves you only when a rival Rats and takes it off you, on his schedule and not yours. The word's out that you talk, and the street prices you accordingly.
|
| Rise |
The chair never stays empty for long. With your Boss in your supply, place him in any Safe Ward: a successor takes the chair, and the family has a head again.
|
Mob Signature Plays
Four families, four ways to make a killing. Each runs on an always-on Trait, the thing that makes them them, plus two signature tricks no rival can copy. Those marked In a Firefight are made inside a fight you are already Pinned in: they cost Influence but never a turn. The rest are ordinary Plays, and cost you your turn.
Sicilian Syndicate
Old blood, older rules. An insult to the family is a death sentence, and the family is Untouchable: Police Squads never enter the Sicilian Safehouse District. A Raid bypasses it as if it were out of reach, taking the Sicilians' next District in reach if they have one, or else chasing the next marker on the Heat Track.
Hit (Cost: 2)
In a Firefight |
The family doesn't fight foot soldiers; it goes for the head. While Pinned in a rival District, Open Fire with a twist: both sides roll as normal, but if you score any hits, the rival Boss takes the first one instead of a Runner. With no rival Boss in the District there is no head to go for, and the Hit lands as an ordinary Open Fire. Either way it draws the fight's Heat only if it's the first shot.
|
| Consigliere (Cost: 1) |
One phone call and the trouble disappears. Remove 1 Influence marker of your choice
from the
Heat Track and return it to its owner's Reserves (slide the rest down to close the gap).
|
Hell's Kitchen Irish
They brew it strong and fight dirty, and they always come heavy. That's their Firepower: whenever the Irish Open Fire, they roll 1 extra attack die (up to the max of 5). Strictly an invader's tool: it never fires on defense, not even in an Ambush. Why buy bullets when a brick works just fine, and why bring one gun when you can bring two?
Plunder (Cost: 1)
In a Firefight |
While Pinned, roll your dice as for Open Fire, but each of your hits steals 1 Liquor barrel of your choice from the
District instead of killing. The Occupier rolls back as normal, and their hits kill. Carry the barrels off if you Advance; they are dropped if you Fall Back.
No Heat: nobody fired a shot, so the fight's first shot, and its one Heat marker, still wait for whoever shoots next.
|
| Peddle (Cost: 1) |
Rotgut sells itself in the tenements. In any Ward you Control, sell any number of the Moonshine barrels sitting there at the $300 street rate. Only Moonshine: Rum wants a proper address, and the bars are Unload's business. The Greed Tax bites at 4+ barrels.
|
East Side Vipers
They move like smoke and strike like snakes. Nothing happens in this city that the Vipers don't overhear first, and those Whispers are their edge: the Vipers may look at the top card of the Jobs deck at any time, and keep what they see to themselves.
| Stealth (Cost: 1) |
A Move by another road: send up to 5 Mobsters (no Liquor) into a Connected rival District. You are
Pinned, but you come in too quiet to answer: the Occupier can only Hold Fire,
never Ambush, never Fold.
|
| Tunnel (Cost: 1) |
The city runs on rails the cops forgot. Move up to 5 Liquor Barrels between the District holding your Safehouse and any other District you Control, Connected or not, in either direction.
|
Harlem Knights
Dressed to kill, literally. The Knights work the water, and no crew moves liquor like they do, because their Network runs every pier from Havana to Harlem. Whenever the Knights Trade at a Dock, they take 1 extra barrel of Havana Rum free, on top of the barrels they swap, while the Supply has one to give. The gift rides along with a real trade: no swap, no gift. Friends on every wharf, and a fresh cask waiting at each one.
| Skiff (Cost: 1) |
Move up to 5 Mobsters (no Liquor) from a Coastal District you Control to any other
Coastal District. A Coastal District is any District touching water, so this reaches far
beyond the Docks. If you enter a rival District, the standard Standoff applies (the Occupier may Ambush, Hold Fire, or Fold).
|
Torch (Cost: 1)
In a Firefight |
Burn down a rival's Safehouse. To strike the match you need at least one Runner
Pinned in its District; sacrifice one of them, and he goes up with the flames (return him to your supply).
The Safehouse is destroyed at once (return it to its owner's supply). Rival Mobsters and
Liquor in the District are unharmed, and the rival keeps Control. Torching always draws Heat.
|
Winning the Game: Take the Crown
Every boss in New York wants the crown. Hold the Nod, and one Play puts it on your head.
Take the Crown
A Power Play (Cost: 2 Influence) that only the Nod unlocks. Make it on your turn, with all three of these in place:
- The Name: 10 or more Respect (see Count Your Respect).
- Clean Books: No unpaid Shylock's Mark. The Commission won't deal with a man another man owns, so Square Up first.
- The Room: Your Boss stands in a High Society Venue, where the families drink with the judges. New York has never knelt to a dead man: a fallen Boss Rises in a Ward and has to walk back.
Make the Play, and the war is over. The families at the Commission rise to their feet, and the game ends on the spot, in the middle of the Day. Nothing else is settled: every promise still due at Sunset dies with the war.
Count Your Respect
Respect is the pile of cards in front of you, and anyone at the table can count it:
- Criminal Legends: Gain 1, 3, or 5 Respect for each completed Job in your Respect pile.
- The Brand: Lose 2 Respect while the Rat Card is in front of you. Everything else on this list you earned; this one you called in yourself.
- Broken Words: Lose 1 Respect for each Welsher card in your Respect pile. The deal is long dead; the street's memory isn't.
There are no shared victories in Moonshine Kingdom. One boss wears the crown, and the rest bleed out in the gutter.
Cooperation: Deals in the Smoke
Trust is fleeting, but no Kingpin rules alone. Every favor granted might be a knife in the back.
A Binding Handshake
A Mobster's word is cheap. When a deal needs teeth, seal it the old way: look the man in the eye
and shake his hand, where the whole table can see it.
Making the Deal
- State the Terms: The terms must be clear, and every deal runs out at Sunset. Nobody's word in this town is good for longer than that.
- Shake on It: Both players shake hands. That's the whole ceremony. A Handshake
is not a Play, costs nothing, and can be made at any time during
the Hustle. In this town, the handshake IS the contract.
Example: "Shake on it. If
you let me pass through your Borough unharmed, I promise to give you $1,000 before Sunset."
Honoring & Breaking Deals
- Deal Honored: The moment the terms are met, the deal is complete, and both reputations walk away clean.
- Deal Broken: If Sunset comes with a promise unmet, or a player violates the agreement for any reason (including third-party interference), their word becomes garbage: the breaker takes a Welsher card from the Supply and adds it to their Respect pile, alongside the Jobs they're prouder of. Welshers stack, nothing takes one back off the table, and each costs 1 Respect (see Winning the Game). Cash comes and goes; a broken word follows you to the grave.
Deals on the Side
Promise whatever you like, but only Cash crosses the table. Pass it at any
time: no Play, no Influence, no questions asked. Liquor changes hands on the board, by a
Move into the buyer's District.
Combat Rules: Blood on the Streets
Violence isn't a backup plan; it's the cost of doing business. Smart Kingpins know a drawn gun beats a fired one. When talk
fails, step inside and clear the room.
The Rules of Engagement
Violence runs on two numbers:
The Muscle Ratio (how many dice you roll) and Threat (what number kills).
| Mobster Count |
Dice Rolled |
| 1–2 Mobsters |
1 die |
| 3–4 Mobsters |
2 dice |
| 5–6 Mobsters |
3 dice |
| 7–8 Mobsters |
4 dice |
| 9+ Mobsters |
5 dice |
| Threat Level |
Kill on Roll |
| Level 1 (Base) |
5–6 |
| Level 2 |
4–6 |
| Level 3 |
3–6 |
| Level 4 (Max) |
2–6 |
Calculating Threat
Your Base Threat is Level 1 (kill on 5+). Bonuses stack, to a maximum of Level 4:
- Boss +1 Threat: If your Boss is in the fight.
- Safehouse +1 Threat: The Occupier, defending the District that holds their own Safehouse (Ambush included).
- Ambush +1 Threat: The Occupier's opening Ambush only.
These bonuses ride on the situation, not the Play: they apply to every roll you make from that position, Open Fire, Hit or Plunder alike.
The Shape of a Fight
Every firefight is just two questions, asked in order:
- Step 1, the Occupier answers: Ambush, Hold Fire, or Fold.
- Step 2, the Invader chooses (and keeps choosing until the Pin is resolved): Open Fire, Advance, or Fall Back.
A Firefight Is One Play
The Move that walked in the door is the Play. Every choice after it, from the Ambush to the last volley and the signature tricks between, happens inside that Play. Each choice is paid from the Ledger of whoever makes it, but none of them costs a turn, so a fight of any length is still one Play.
That is why the crew holding the block always answers, even one that went home hours ago. The free answers are always open; the paid ones need a marker in your Ledger. Spent out, or already Laid Low, you cannot Ambush, but you can still Hold Fire or Fold, and your men shoot back whenever the Invader Opens Fire.
1. The Standoff: Crossing the Line
When an opponent Moves into a District you Control, the game pauses on Step 1. Set each crew along the edge it crossed from, so it stays clear whose Mobsters and barrels are whose.
| Ambush (Cost: 1) |
Greet the invaders with lead. Paid from your Ledger: spent out or Laid Low, you can't Ambush.
- First Shot: Only the Occupier rolls dice, at +1 Threat.
- Draws Heat : firing first, you take the fight's one Heat marker; your spent marker locks onto the Track.
- Casualties: Hits remove Invaders (Runners first). Invaders are now Pinned.
|
| Hold Fire (Cost: 0) |
Stand your ground but don't shoot. Maybe they're just passing through. The Invaders are now Pinned.
|
| Fold (Cost: 0) |
Surrender the District. Your Mobsters flee to one Connected Safe District, across water via Docks if you like. With nowhere safe to go, you cannot Fold.
- Panic: Fleeing Mobsters cannot carry Liquor; any barrels are left behind, and your Safehouse stays put.
- The Takeover: The Invader immediately claims Control, captures dropped Liquor, and may take over or destroy your Safehouse. The Invaders are not Pinned; their Play ends.
|
2. Pinned: Fight or Flight
A Pin stops the city where it stands: it is fought out then and there, and no Play is made anywhere, by anyone, until it resolves. While Pinned you do nothing else: spend Influence to Open Fire or
Advance, or Fall Back for free, and keep choosing
until the Pin is resolved, or you run dry and must Fall Back. Hit, Torch and Plunder are open to you here too, if your Ledger can pay for them (Irish Firepower adds its die to Open Fire only, never to a Plunder). None of it costs a turn.
The Cost of Pride: A real Kingpin knows an all-out firefight is bad business. Burning 3 or 4 Influence to keep opening fire on one stubborn alley may win it, but it leaves rivals free across the city. Talk is cheap; bullets cost time.
| Open Fire (Cost: 1) |
Fight for the District. Both sides roll simultaneously.
- Casualties: Both sides apply hits (Runners first).
The Occupier loses the Ambush bonus but keeps Safehouse/Boss bonuses.
- Heat : Only the first shot of a firefight draws a marker. If the Occupier Held Fire, this opening volley is it, so the Invader takes the Heat; if they Ambushed, the Occupier already took it and these volleys draw none.
- Repeat: If both sides stand, remain Pinned. Spend another Influence to Open Fire again.
|
| Advance (Cost: 1) |
Push on through. Move your Pinned Mobsters, with any barrels they carried in, to any Safe District Connected to this one,
across water via Docks if you like. Hostile turf is closed to you.
|
Fall Back (Cost: 0)
(Invader Only) |
Cut and run. Retreat to the District you came from, across water if that's how you came. Carried Liquor is left behind for the Occupier.
With no marker left in your Ledger, you must Fall Back.
|
3. Victory & Consequences
Combat ends when one side is wiped out or flees, or the Invader Advances.
If the Occupier Holds: The District remains theirs, along with any Liquor the Invaders left behind.
If the Invader Wins: The moment the last of the Occupier's pieces falls or flees, you claim Control of the District.
- The Spoils: Any Liquor in the District is now yours.
- Safehouses: A rival Safehouse in the District is destroyed (back to its owner's supply), unless you
take it over instead: immediately Secure the District for free by relocating your
Safehouse there from wherever it sat before.
Example: Battle for the Docks
Setup: The Knights (1 Boss, 3 Runners) move into a Dock District held by the Sicilians (1
Boss,
2 Runners, Safehouse), aiming to seize the pier and the Trade it controls.
1. The Standoff
The Sicilians (Occupier) refuse to Fold, choosing to Ambush, spending 1 from their Ledger. They fire first; the Knights do not roll yet.
| Faction |
Strength |
Threat |
Roll & Result |
Sicilians
(Occupier) |
3 Mobsters
(2 Dice) |
Level 4 (Hit 2+)
(Base + Boss + Ambush + Safehouse) |
Roll: [1, 5]
1 Hit |
Result: Knights lose 1 Runner. The Sicilians fired first, so this Ambush is the fight's one
Heat marker : their spent marker locks onto the Track.
Knights are now Pinned.
2. Open Fire (Round 1)
The Knights choose to fight. Both sides roll simultaneously.
| Faction |
Strength |
Threat |
Roll & Result |
Knights
(Invader) |
3 Mobsters
(2 Dice) |
Level 2 (Hit 4+)
(Base + Boss) |
Roll: [4, 6]
2 Hits |
Sicilians
(Occupier) |
3 Mobsters
(2 Dice) |
Level 3 (Hit 3+)
(Base + Boss + Safehouse) |
Roll: [1, 5]
1 Hit |
3. The Resolution (After Round 1)
- Casualties: Sicilians take 2 hits (remove 2 Runners). Knights take 1 hit (remove 1
Runner).
- Status: Both sides still have units (Boss + Runner vs Boss). Knights are still
Pinned.
4. Open Fire (Round 2)
The Knights spend another Influence to Open Fire.
| Faction |
Strength |
Threat |
Roll & Result |
Knights
(Invader) |
2 Mobsters
(1 Die) |
Level 2 (Hit 4+)
(Base + Boss) |
Roll: [5]
1 Hit |
Sicilians
(Occupier) |
1 Mobster
(1 Die) |
Level 3 (Hit 3+)
(Base + Boss + Safehouse) |
Roll: [1]
0 Hits |
5. Victory & Takeover
- Casualties: The Sicilian Boss is eliminated. The Knights lose no one this round.
- Heat: The Sicilians fired first, so the fight's single Heat marker is theirs. The Knights took the pier and drew none: if a Raid comes, it chases the losers.
- Outcome: The Knights claim the District and choose to
take over the Safehouse, immediately Securing it with their own Safehouse.
With combat resolved, the Play comes to an end. The player with the next Turn Token now takes
their turn.
Heat: Playing with Fire
Heat measures how hard the law is breathing down your neck. The Heat
Track is a 5-space powder keg: draw Heat and your spent marker goes there instead of
home to your Reserves. Played right it's a weapon; played wrong, a noose.
Drawing Heat
Every noisy Play (marked with the flame ) adds one marker:
- First Shot Draws Heat: A firefight adds 1 marker , and it belongs to whoever fired first: the Occupier if they Ambush, otherwise the Invader on his first Open Fire. One marker, however many volleys.
- Shakedowns Get Loud: Extort and Torch always draw Heat , however many Districts you squeeze.
- The Greed Tax: Shifting 4+ barrels in a single Play, by Unload or Peddle, draws Heat , wherever you sell.
Police Raids: The Boiling Point
A Raid triggers two ways: the 5th marker lands on the track, or someone makes the Rat Play. Either way, pause the turn. Heat lands as the Play that drew it ends, so a firefight always finishes before the sirens start.
A Raid puts every Squad on the move. Resolve them one at a time, in the numbered Borough order printed on the board, each finishing before the next stirs.
1. The Most Wanted List
Each Squad hunts within reach and chases the freshest gunshot it can hear. Its reach is only the Districts directly Connected to it inside its own Borough, never the Sicilian Safehouse District (see Untouchable). Find the target in two steps:
- Pick the mob (Follow the Smoke): Of the mobs holding Districts in reach, target the one whose marker sits furthest right on the Heat Track: the most recent noise. If none of them has a marker there, the Squad stays put. Quiet money always walks free.
- Pick the District (The Big Bust): If that mob holds one District in reach, that's the target. If it holds several, the Squad kicks in the one with the most Barrels; on a tie, the hottest boiler, ranked highest on its Still's Pressure Strip. The louder the boiler, the harder the door comes off.
2. The Scatter
The Squad takes one step onto the chosen District and kicks the doors in:
- Condemned: Any Safehouse there burns (back to its owner's supply), and all Liquor goes to the Supply.
- Run For It: The crew bolts on foot to one Land Connected Safe District of your choice (never the one the Squad came from), leaving the barrels behind. No boats; a Dock is a dead end.
- Cornered: With nowhere to run (every exit blocked by rivals, water, the Blue Wall, or the map's edge), the whole crew is arrested, back to your supply. Leave a back door, or don't leave at all.
The Squad now holds the District as an impassable wall, padlocking any Speakeasy or Still beneath it until a later Raid.
The Aftermath: Once every Squad has moved, all Heat markers return to their owners' Reserves and the turn resumes.
The Blood Oath: 4-Player Team Variant
When the heat boils over, enemies become brothers. The Feds are kicking down doors and lone wolves get slaughtered. The Blood Oath is the recommended 4-player mode: a cutthroat free-for-all where escalating police pressure eventually forces the city into two permanent 2v2 alliances.
Setup: The Ticking Clock
Set up as a standard 4-player match, with one addition: place the Federal Crackdown Tracker near the Heat Track with a token on space 1. Every time a Police Raid triggers, advance the token one space.
The Truce
The moment the token reaches space 10 on the Crackdown Tracker, the underworld snaps.
Pause the game. The four independent mobs immediately form two permanent alliances.
- Rank the Bosses: Tally everyone's current Respect (see Winning the Game: Count Your Respect). Tiebreaker: Total Cash on hand.
- Forge the Families: The player in 1st Place joins forces with the player in 4th Place. The player in 2nd Place pairs with the player in 3rd Place.
- The Target is 20: Both Alliances race for the same number: 20 combined Respect, two winners' worth. Nothing to write down; just add your halves together and see who's closer.
New Rules of Engagement
One goal, two crews. You still run your own operations.
- Separate Ledgers: You do not share Cash, Influence, or Jobs, and you still take individual turns in Turn Order.
- Turf is Turf: Partner turf is Hostile ground, and his men fight like any other mob's. The Golden Rule of Turf holds between partners too, and Liquor Moved into his District becomes his.
- Nothing on Your Books: A Job pays only for deeds done against the opposing Alliance. Your partner's Boss, his Safehouse and his Districts are worth nothing in your Respect pile.
- The Family Bank: Influence never crosses the table, even between partners, but Cash moves freely off the board (see Cooperation): bankroll whichever of you is closer to the deed. A Handshake broken against your own blood still earns the Welsher card, and the Alliance pays the point together.
Claiming the Empire
The Commission only sits down with unified power. A partner holding the Nod may Take the Crown for his Alliance when his Boss stands in a High Society Venue, neither partner holds a Shylock's Mark, and the two of you hold 20 combined Respect: first family to the finish takes the crown.
One Crown, One Capo
There are no truly shared victories, even in a team, and your partner's Boss is a target like any other man's. Whoever Takes the Crown is the family's Capo, and wears it on the combined total the two of you built. Your partner doesn't get a crown, just the privilege of kissing your ring.